Top-flite TOPA0135 User Manual
Browse online or download User Manual for Air equipment Top-flite TOPA0135. Top Flite TOPA0135 User Manual
- Page / 56
- Table of contents
- BOOKMARKS
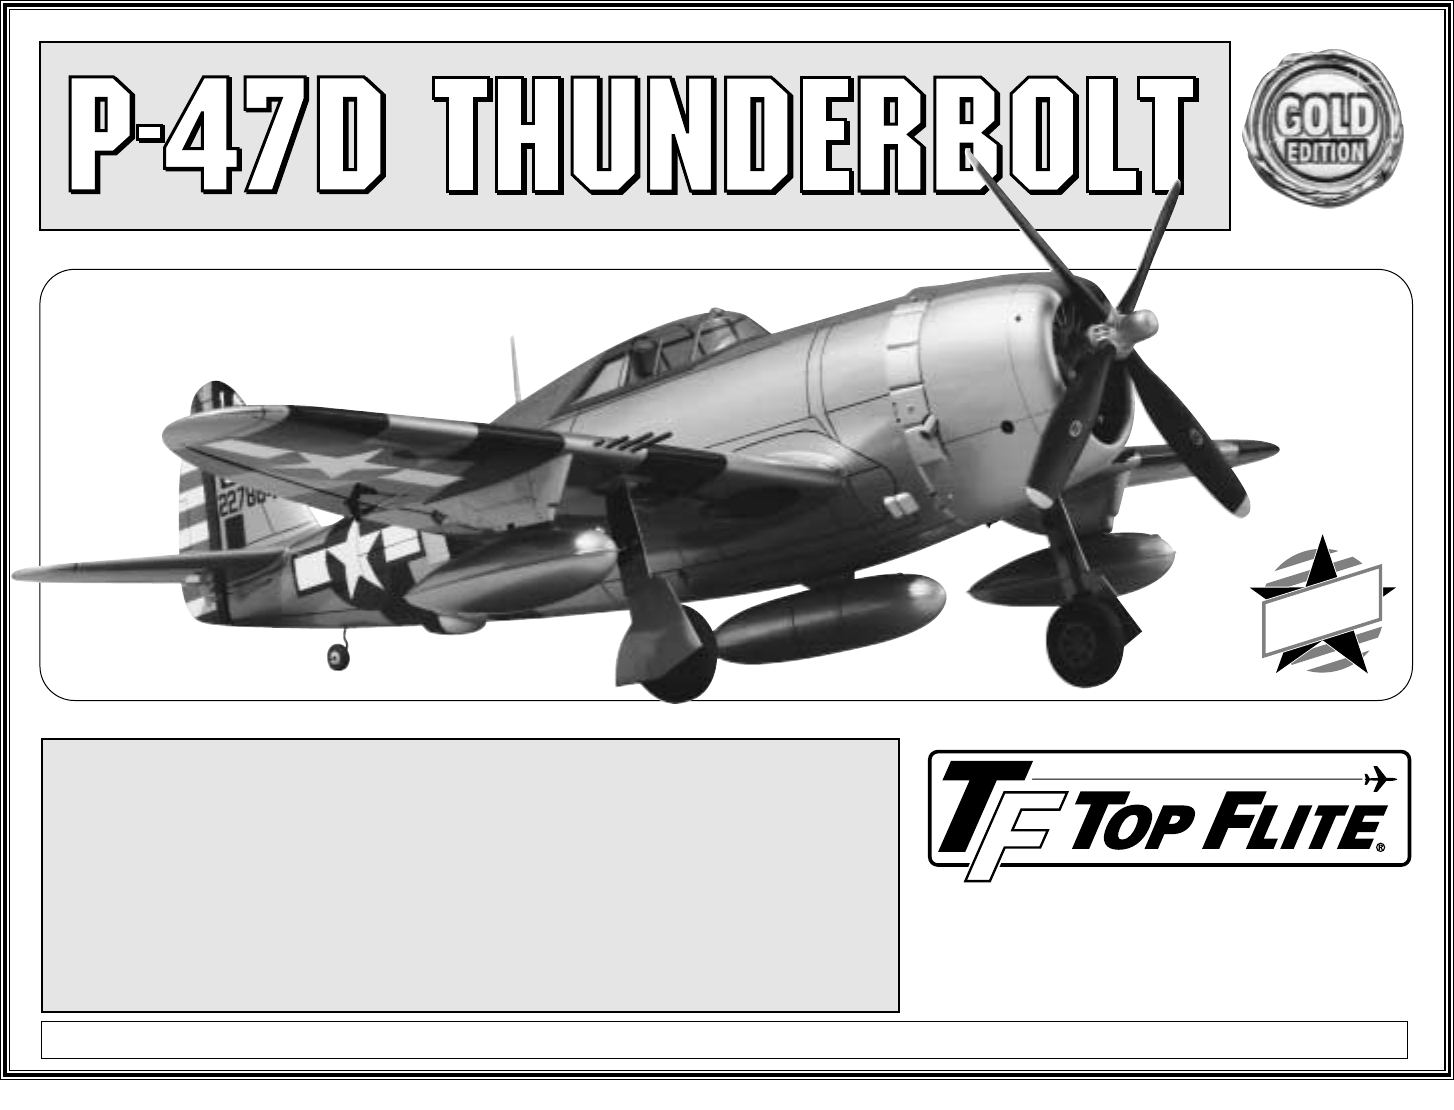
- Top Flite Models 1
- P.O. Box 788 1
- Urbana, IL 61801 1
- TABLE OF CONTENTS 2
- Academy of Model Aeronautics 3
- DECISIONS YOU MUST MAKE EARLY 4
- IN THE BUILDING PROCESS 4
- OTHER ITEMS REQUIRED 5
- TOP FLITE SCALE ACCESSORIES 5
- SUGGESTED SUPPLIES AND TOOLS 6
- BUILD THE TAIL SURFACES 9
- HOW TO MAKE WING AND 10
- STAB SKINS 10
- 3/8" 11
- 1/32" 11
- SHAPING BALSA BLOCKS 12
- BUILD THE FIN AND RUDDER 13
- BUILD THE FUSELAGE 15
- BUBBLE CANOPY VERSION: 17
- THE FUSELAGE 18
- FINAL STEPS BEFORE FRAMING 21
- THE LOWER FUSE 21
- FRAME THE FUSE BOTTOM 21
- TAIL GEAR INSTALLATION 22
- FIT THE INTERCOOLER 24
- AIR EXITS 24
- SHEET THE FUSE BOTTOM 25
- INSTALL THE ENGINE 26
- INSTALL SERVO TRAY 27
- BUILD THE WING 28
- BUILD THE WING PANELS 29
- Please consider this 30
- The shape 31
- JOIN THE WING PANELS 33
- PREPARATIONS BEFORE ADDING 34
- BOTTOM WING SHEETING 34
- SHEET THE BOTTOM OF THE WING 34
- SHEET THE TOP OF THE WING 37
- BUILD THE FLAPS 38
- FIT THE FLAPS 39
- BUILD THE AILERONS 40
- MOUNT THE WING TO THE FUSE 41
- BUILD THE WING FILLET 42
- BUILD THE WING BELLY PAN 43
- SHEET THE BELLY PAN 44
- BUILD AND FIT THE COWL 45
- FINISH PREPARATION 46
- FINISHING 46
- PAINTING 48
- FINAL CONTROL 48
- HARDWARE HOOKUP 48
- RETRACTS 49
- COCKPIT FINISHING 50
- OPTIONAL COCKPIT INTERIOR 50
- ADD THE MOLDED SCALE DETAILS 50
- FINAL HOOKUPS AND CHECKS 51
- BALANCE YOUR MODEL 52
- PREFLIGHT 52
- AMA SAFETY CODE 53
- THREE-VIEW DRAWING 56
Summary of Contents
WARRANTY...Top Flite Models guarantees this kit to be free of defects in bothmaterials and workmanship at the date of purchase. This warranty does n
❏ 5. With the notch in one of the stab TE’s alignedwith the notch in a stab TE doubler, glue the piecestogether. Do the same with the other stab TE an
❏ 11. Make the skins for the stabs and fin usingthree 1/16" x 3" x 36" balsa sheets. See the sketchfor the correct layout on the sheets
❏ 19. Cut another piece of 1/16" cross-grainsheeting 2-1/2" long and glue it between the S1ribs as you did in step 12. Add four 1/4" x
❏ 27. Glue the shaped 7/8" thick balsa ElevatorRoot Blocks to the elevators then use a razorplane and a sanding block to shape them as youdid the
❏ 4. Cover the rudder and vertical fin portion of theplans with waxed paper. Lay the leading edge onthe plans and mark the exact location of rib V-1di
❏ 18. Tack glue or tape the rudder to the fin withthree 1/32" plywood shims (as we did with theelevators). True up the tip of the fin and rudder
❏ 6. Fit, but do not glue, the Tank Roof (TR)followed by the Right Upper Crutch (RUC) andLeft Upper Crutch (LUC) into former F-1. Placethe assembly in
❏ 12. Use a drafting triangle to hold the formersvertical and remove any twists as you glue one3/16" x 3/16" x 42" balsa stringer in F-
❏ 2. Wet the outside surface of a sheet and test fitit to the fuselage. Hint: a 50:50 mixture of waterand rubbing alcohol applied to the outside surfa
❏ 5. Use a string, pinned to the center of the topstringer at F-1, to equalize the distance of the stabtips to the nose. Hint: An alternate method to
Introduction ...3About the airfoils...3Precautions
❏ 14. Cut the Upper Forward Fuselage Topsfrom a 3/32" x 4" x 30" balsa sheet. This should bedone in two halves with the pieces joining
FINAL STEPS BEFORE FRAMINGTHE LOWER FUSE❏ 1. Turn the fuselage over and reinforce all gluejoints that don’t look strong or that you couldn’treach befo
❏ 5. After carefully aligning the holes, glue both 2-C’s to the forward surface of F-2B. Inspect all theglue joints and add small fillets of medium CA
❏ 7. Cut two 3" long sticks from one of theapproximately 6" long scrap pieces of 3/16" x3/16" stringers leftover from the top of t
❏ 24. Bevel the aft rudder pushrod tube so itmatches the angle of the fuselage. Install but don’tglue the tube in the pushrod exit, then cut theforwar
SHEET THE FUSE BOTTOM❏ 1. If you haven’t already done so, glue theremaining four 3/16" x 3/16" x 24" aft fuselagestringers to the notch
❏ 11. Trim the ends of the aft bottom sheetingeven with F-9 and F-5D.❏ 12. Use a sanding block to sand the aft fusesheeting flush with the stringers s
❏ 3. Position the engine so the Drive Washer is6-1/4" (159mm) from the aft edge of the enginemount. Mark, drill (#29 drill bit) and tap the engin
BUILD THE WINGNOTE: The wing panels are built “UPSIDE-DOWN” on the plans. The jig tabs are attachedto what is, in the end, the TOP surface of thewing.
Skip this step if installing fixed gear❏ 9. Locate wing ribs W-5 and W-6, and 1/16"plywood doublers 5-R and 6-R (4 each). Usethick CA to glue the
PROTECT YOUR MODEL,YOURSELF & OTHERS – FOLLOWTHIS IMPORTANT SAFETYPRECAUTIONYour P-47 Thunderbolt is not a toy, but rathera sophisticated, working
❏❏10. Hold the dihedral gauge near the middleof W-1 and lightly tack glue the rib to the top andbottom main spars. Do not glue the dowel plateuntil to
❏❏18. With the bellcrank facing away from theplans, glue the aileron bellcrank plate into the slotsin ribs W-7 and W-8. ❏❏19. Test fit Tip Ribs W-12 a
❏❏30. Use a sanding block and 150-gritsandpaper to blend the upward facing surfaces ofthe wing ribs and spars.❏❏31. Use the patterns provided on the p
JOIN THE WING PANELS❏ 1. Cut away the portion of rib W-1 behind thedowel plate and 1/16" behind the main spars. Cutaway the portion of rib W-2 be
PREPARATIONS BEFORE ADDINGBOTTOM WING SHEETING❏ 1. Sand the 3/16" x 36" Outer Pushrod Tube soglue will stick to it. Cut it to the lengths sh
NOTE: The steps below show the sheeting of awing with functioning flaps. Wings without flaps aresheeted the same way.❏ 4. Fit one of the 1/16" x
❏ ❏ 8. Install a Ball Stud with a Nut onto a servoarm. Use epoxy or plastic compatible thread lock topermanently secure the nut to the ball stud. Snap
❏ ❏ 18. Mark the location of the wing dowels frominside the wing. Remove the wing center LE anddrill 1/4" holes at the marks. Hint: Use a sharpen
Hint: Before performing step #5, make marks onthe leading edge and main spar at each rib thentransfer them to the sheeting. Lightly draw linesconnecti
will see the punch marks in the ribs that can beused as a guideline as well. Reference the crosssections of the wing plans.❏ ❏ 4. Carefully remove the
5. You must test the operation of the modelbefore the first and each successive flight toinsure that all equipment is operating and youmust make certa
❏ 4. Insert three #309 Robart Super HingePoints into the wing but do not glue them inuntil after the wing and the flaps are covered.Fit the flap to th
❏ 9. Glue the wing tip blocks to the wing tip ateach W-13. Refer to the plans, then shape the tipswith a razor plane and a sanding block. ❏ 10. Tempo
❏ 5. Remove the wing and finish drilling the holeswith a #10 (13/64") drill bit through the wing mountblocks. Tap the holes with a 1/4-20 tap. Ad
❏ 11. (Optional) Use the template on the plans tomake two sets of wing fillet braces from left over1/8" lite ply. Glue the braces to the fillet a
❏ 7. Make a Mounting Post from left over 1/8"lite-ply to secure the outer pushrod tube for therelease mechanism. Position it so that when thecabl
❏ 9. Use balsa filler to build up a small filletbetween the belly pan and the wing and fill anyother gaps between the sections of belly pansheeting. T
❏ 10. Remove the cowl rings and set the cowl onthe fuselage. Reference the plans for the exactposition. Hint: You could mount the engine to thefuselag
Cover the aircraft with MonoKote film using thesequence below. Make sure the MonoKote film isthoroughly bonded to the structure and all of theedges ar
APPLY PANEL LINES TO THE MODEL(OPTIONAL)Panel lines are easy to apply and enhance themodel’s appearance. The pictures on the box maybe used for refere
❏ 2. Hookup and adjust the flap linkages. Two .074 x 4" Threaded End Rods and NylonClevises are supplied to make the flap pushrods.The flap push
OTHER ITEMS REQUIREDItem numbers (GPMQ4130) are suggested partnumbers recognized by distributors and hobbyshops and are listed for your orderingconven
COCKPIT FINISHING(Basic cockpit)❏ 1. Sand the inside of the cockpit with 320-gritsandpaper. True up any uneven edges in thecockpit area.❏ 2. Assemble
❏ 7. Glue the pylon mount plate to the pylon. Hint:Insert a pin through both sets of the dimples on thepylon to set the pylon mount in the proper loca
BALANCE YOUR MODELNOTE: This section is VERY important andmust NOT be omitted! A model that is notproperly balanced will be unstable and possiblyunfly
Keep your face and body as well as allspectators away from the plane of rotation of thepropeller as you start and run the engine.Keep items such as th
FLYING: We recommend that you take it easy withyour Thunderbolt for the first several flights,gradually “getting acquainted” with this realisticwarbir
- 55 -Remove shaded area for Century Jet Models retract units.
THREE-VIEW DRAWINGUse this layout for trim scheme planningonly. Not suitable for scale documentation.
❏Robart #650 Straight Robostruts – ROBQ1700(optional)❏ Robart #189Air Restrictor Set – ROBQ2389(optional)-or-❏ Century Jet Models Retracts❏ Top Flite
- 7 -
- 8 -
COMMON ABBREVIATIONS USED INTHIS BOOK AND ON THE PLANS:Deg = DegreesFuse = FuselageLE = Leading Edge (front)LG = Landing GearLt = LeftPly = PlywoodRt
Related products and manuals for Air equipment Top-flite TOPA0135
 (60 pages)
(64 pages)
(60 pages)
(66 pages)
(32 pages)
(36 pages)
(36 pages)
(12 pages)
(48 pages)
(36 pages)
(40 pages)
(36 pages)
(48 pages)
(36 pages)
(40 pages)
(16 pages)
(24 pages)
(32 pages)
(60 pages)
(60 pages)
(64 pages)
(60 pages)
(66 pages)
(32 pages)
(36 pages)
(36 pages)
(12 pages)
(48 pages)
(36 pages)
(40 pages)
(36 pages)
(48 pages)
(36 pages)
(40 pages)
(16 pages)
(24 pages)
(32 pages)
© 2020, manymanuals.com. All rights reserved. | 0.457 s |
 Manymanuals.com
 Manymanuals.de
 Manymanuals.fr
 Manymanuals.it
 Manymanuals.pl
 Manymanuals.cz
 Manymanuals.es
 Manymanuals-pt.com
Comments to this Manuals